It’s late January, which means it’s potting up time out at My Happy Homestead. Every day, I spend about an hour potting up different varieties of seedlings that I’ve started, indoors, at the beginning of the month.
In my last post, I shared three tips on seed starting that the gurus might not have told you about. This time, I thought I’d follow up with a short post on how I pot up these seedlings after they’ve hatched. It’s pretty much a no-brainer, but if you’ve ever wondered just how to do it (especially when your dealing with multiple, leggy seedlings), then maybe this post is for you!
As I shared, in my last post, I go heavy on the seeds when I’m getting them started because It’s so much more cost-effective than planting one or two seeds per cell!

After the plants have sprouted and are up about an inch, or so (sometimes more if I’m running behind schedule), then the transplanting begins.
Because I used toilet paper and paper towel tubing as seed starting cells, the first step in the process really easy — I simply unwrap the cardboard,

leaving the soil cell with the seedlings in tact…

Then, using both of my hands, I gently pry all of the seedlings apart. I’ve found that the best way to do this is to loosen the bottom soil, first, and then grab each individual seedling, one at a time, by the base of the plant, and gently tug until it breaks away from the rest of the seedlings. When the seedlings are still tiny, and the roots haven’t developed much, they are super easy to separate out.
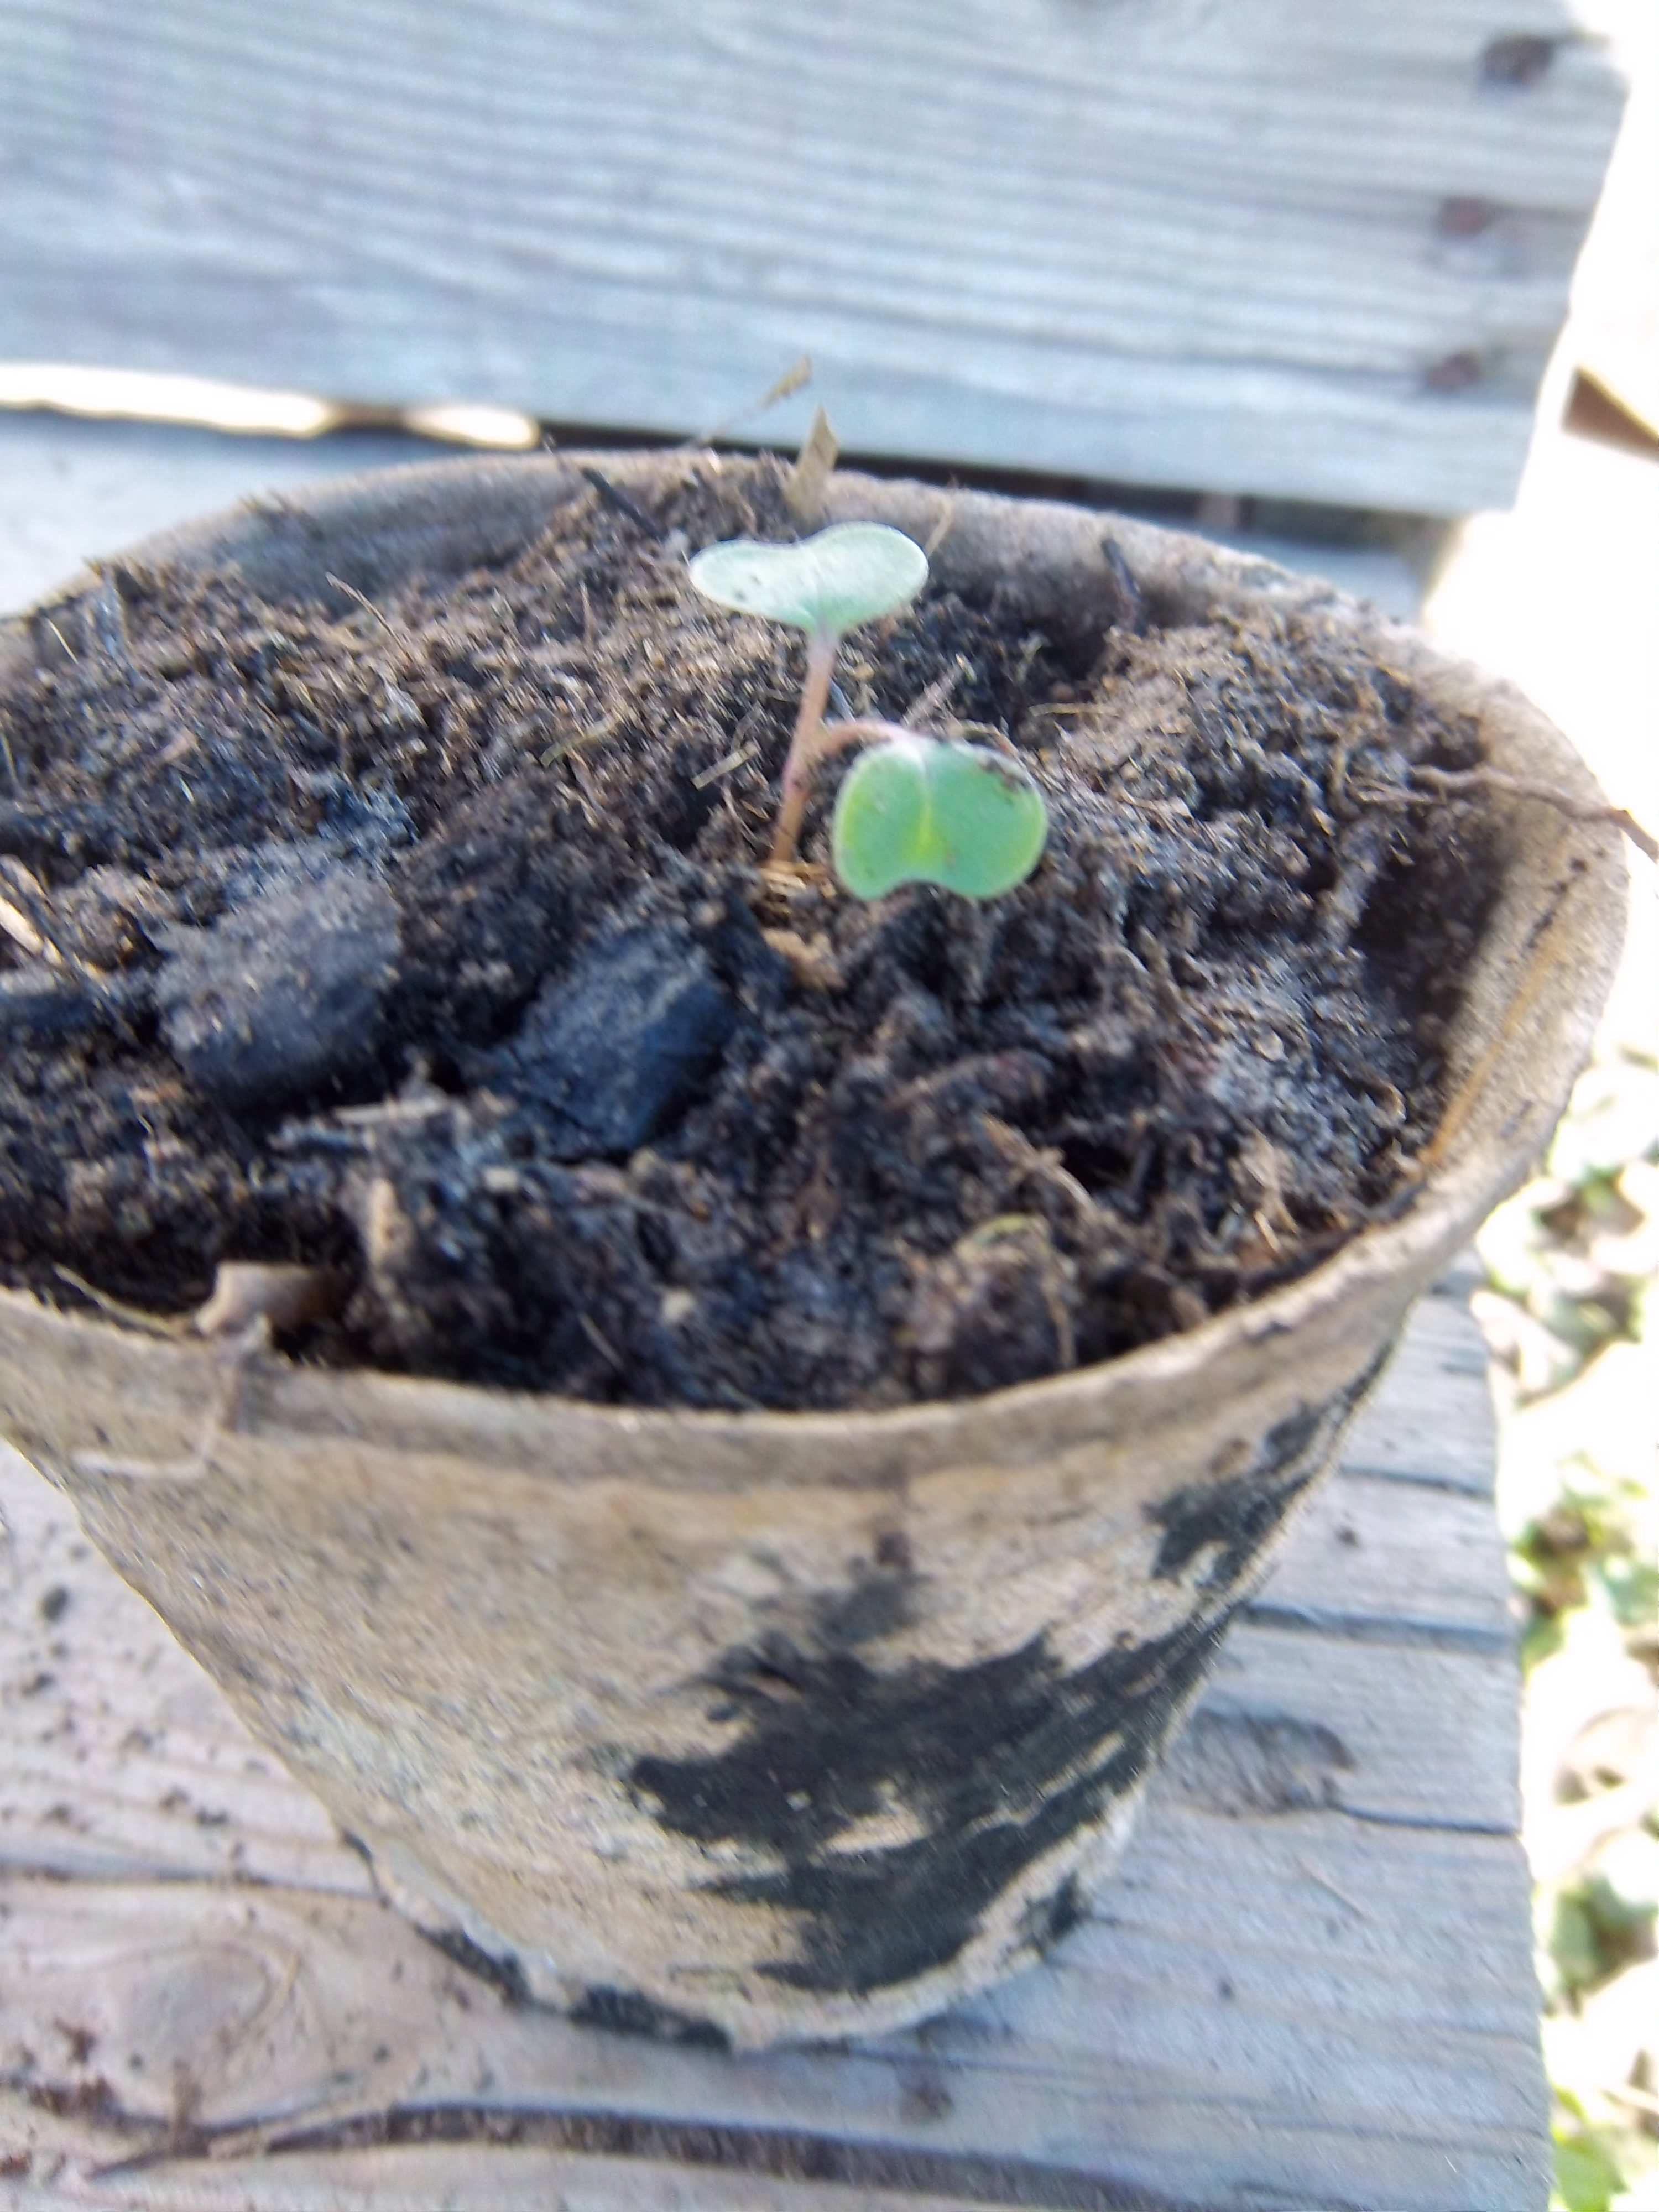
 Next, I take an empty container (preferably a bio-degradable one), and place a little bit of potting soil into the bottom. I prefer to use a mixture of compost and plain ol’ dirt from the garden.
 I place the seedling into the container…

Now comes the tricky part. The plants are a little leggy, but I only want their leaves poking up above the soil when I’m finished potting them up. So, using two fingers, I hold the plant so that its leaves are right about even with the top of the container…
 Then, I keep on holding onto the plant while I use the other hand to fill in all around it with my soil/compost mix so that the end product looks like this…
 I water the plant, very thoroughly to make sure that the water gets all the way down to the roots, and then off to the greenhouse it goes to be protected from the elements and bulk up until it’s ready to be planted out into the garden in early spring.
One last observation that I wanted to share with you is that, after potting up the seedlings, I’ve noticed that they can tend get a little droopy (especially tender seedlings, like lettuce and chard). Generally speaking, that’s okay. They are basically in a state of shock, from having their roots disturbed. The great majority of the time, howeber, they perk right back up in a couple of days. Sometimes, there are a few that, for one reason or another, don’t make it, and I have to toss them out, but that’s one of the reasons why I seed so heavily in the first place (I typically sow about 25% more seeds than the actual plants that I want to end up with to account for some type of stage loss).

Potting up does take a little time and effort, but as long as I’ve got all of my materials at hand, I can move along at a pretty quick pace and pot up hundreds of seedlings per day. Almost all of the plants that I grow in my garden, or sell to customers, are started from seed and go through this potting up process. It’s a daily chore that keeps me very busy in the late winter and early spring months out here — nope, there’s no down time during the cold months for me. It’s okay, though. Every garden chore, out at My Happy Homestead, is a total labor of love!
What about you? Do you grow your own seedlings? What sort of potting up process do you use?

I am really loving these seed/garden starting posts. Thank you so much for another great one! I never would have thought to bury the little things up to their neck, and I get frustrated when they start falling over from being so leggy. Now I know better! This is my first year really trying to start seeds, and you’ve been such a big help! 🙂
Glad to be of help, Meg! Yes, the leggy seedling issue always used to plague me, and I wasn’t sure if the seedlings would survive if I planted them deeply, but they sure do! Just make sure that you water them thoroughly after planting so that the water gets all the way down to the roots. I didn’t mention this in the post, but the plants may look a little droopy after potting them up. Give them a few days and they should perk right back up.